Recently, I’ve been launching a little office project to develop a new training curriculum for DISTek engineers. Because it is hands-on training, it will require a toolchain. Since our customers use everything from off-the-shelf professional solutions to home-brewed ones, it’s important to prevent the nuances of a new toolchain from being a distraction in the training’s purpose of conveying good software practices and controls concepts.
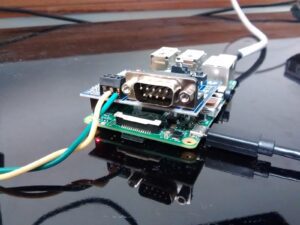
I chose the Raspberry pi as the target for our training. Although not generally thought of as an embedded controller, the pi can be patched to run a real-time linux kernel and use simple gcc tools, both of which most embedded software engineers, including ours, are likely to encounter in the wild. I get the sense that most people building c code for the pi are doing so on the pi itself, but I prefer a cross compiler like I’d have for any other embedded work. Digging around a bit, I found the excellent windows toolchain for raspberry pi available for free from SysProgs. This one install comes with all the build tools including make and a nifty utility for syncing the pi’s include and library files over ssh.
The one thing that’s left to do is create a makefile and that’s what this blog post is really about. IDEs with fancy features like eclipse will generate a makefile based on configuration settings, but that’s not going to be as versatile nor as source control friendly. I like makefiles written by humans. Download my makefile here bundled with a sample project. The source included is a program for testing the CAN shield we have for our pi so it may not be of much use without a similar interface, but it should build and may be useful as a template for other projects and other toolchains. Makefiles always evolve with the project a bit but this is a solid start that my little project won’t quickly outgrow. This route is great for the pick-up office project where contributions can be made with little or no time spent on setup. The eclipse guy can still use eclipse, but the guy who wants to edit with vim and build in the terminal isn’t left out.
Stay tuned for part two where I describe how to explore real-time processing on the Raspberry pi.


