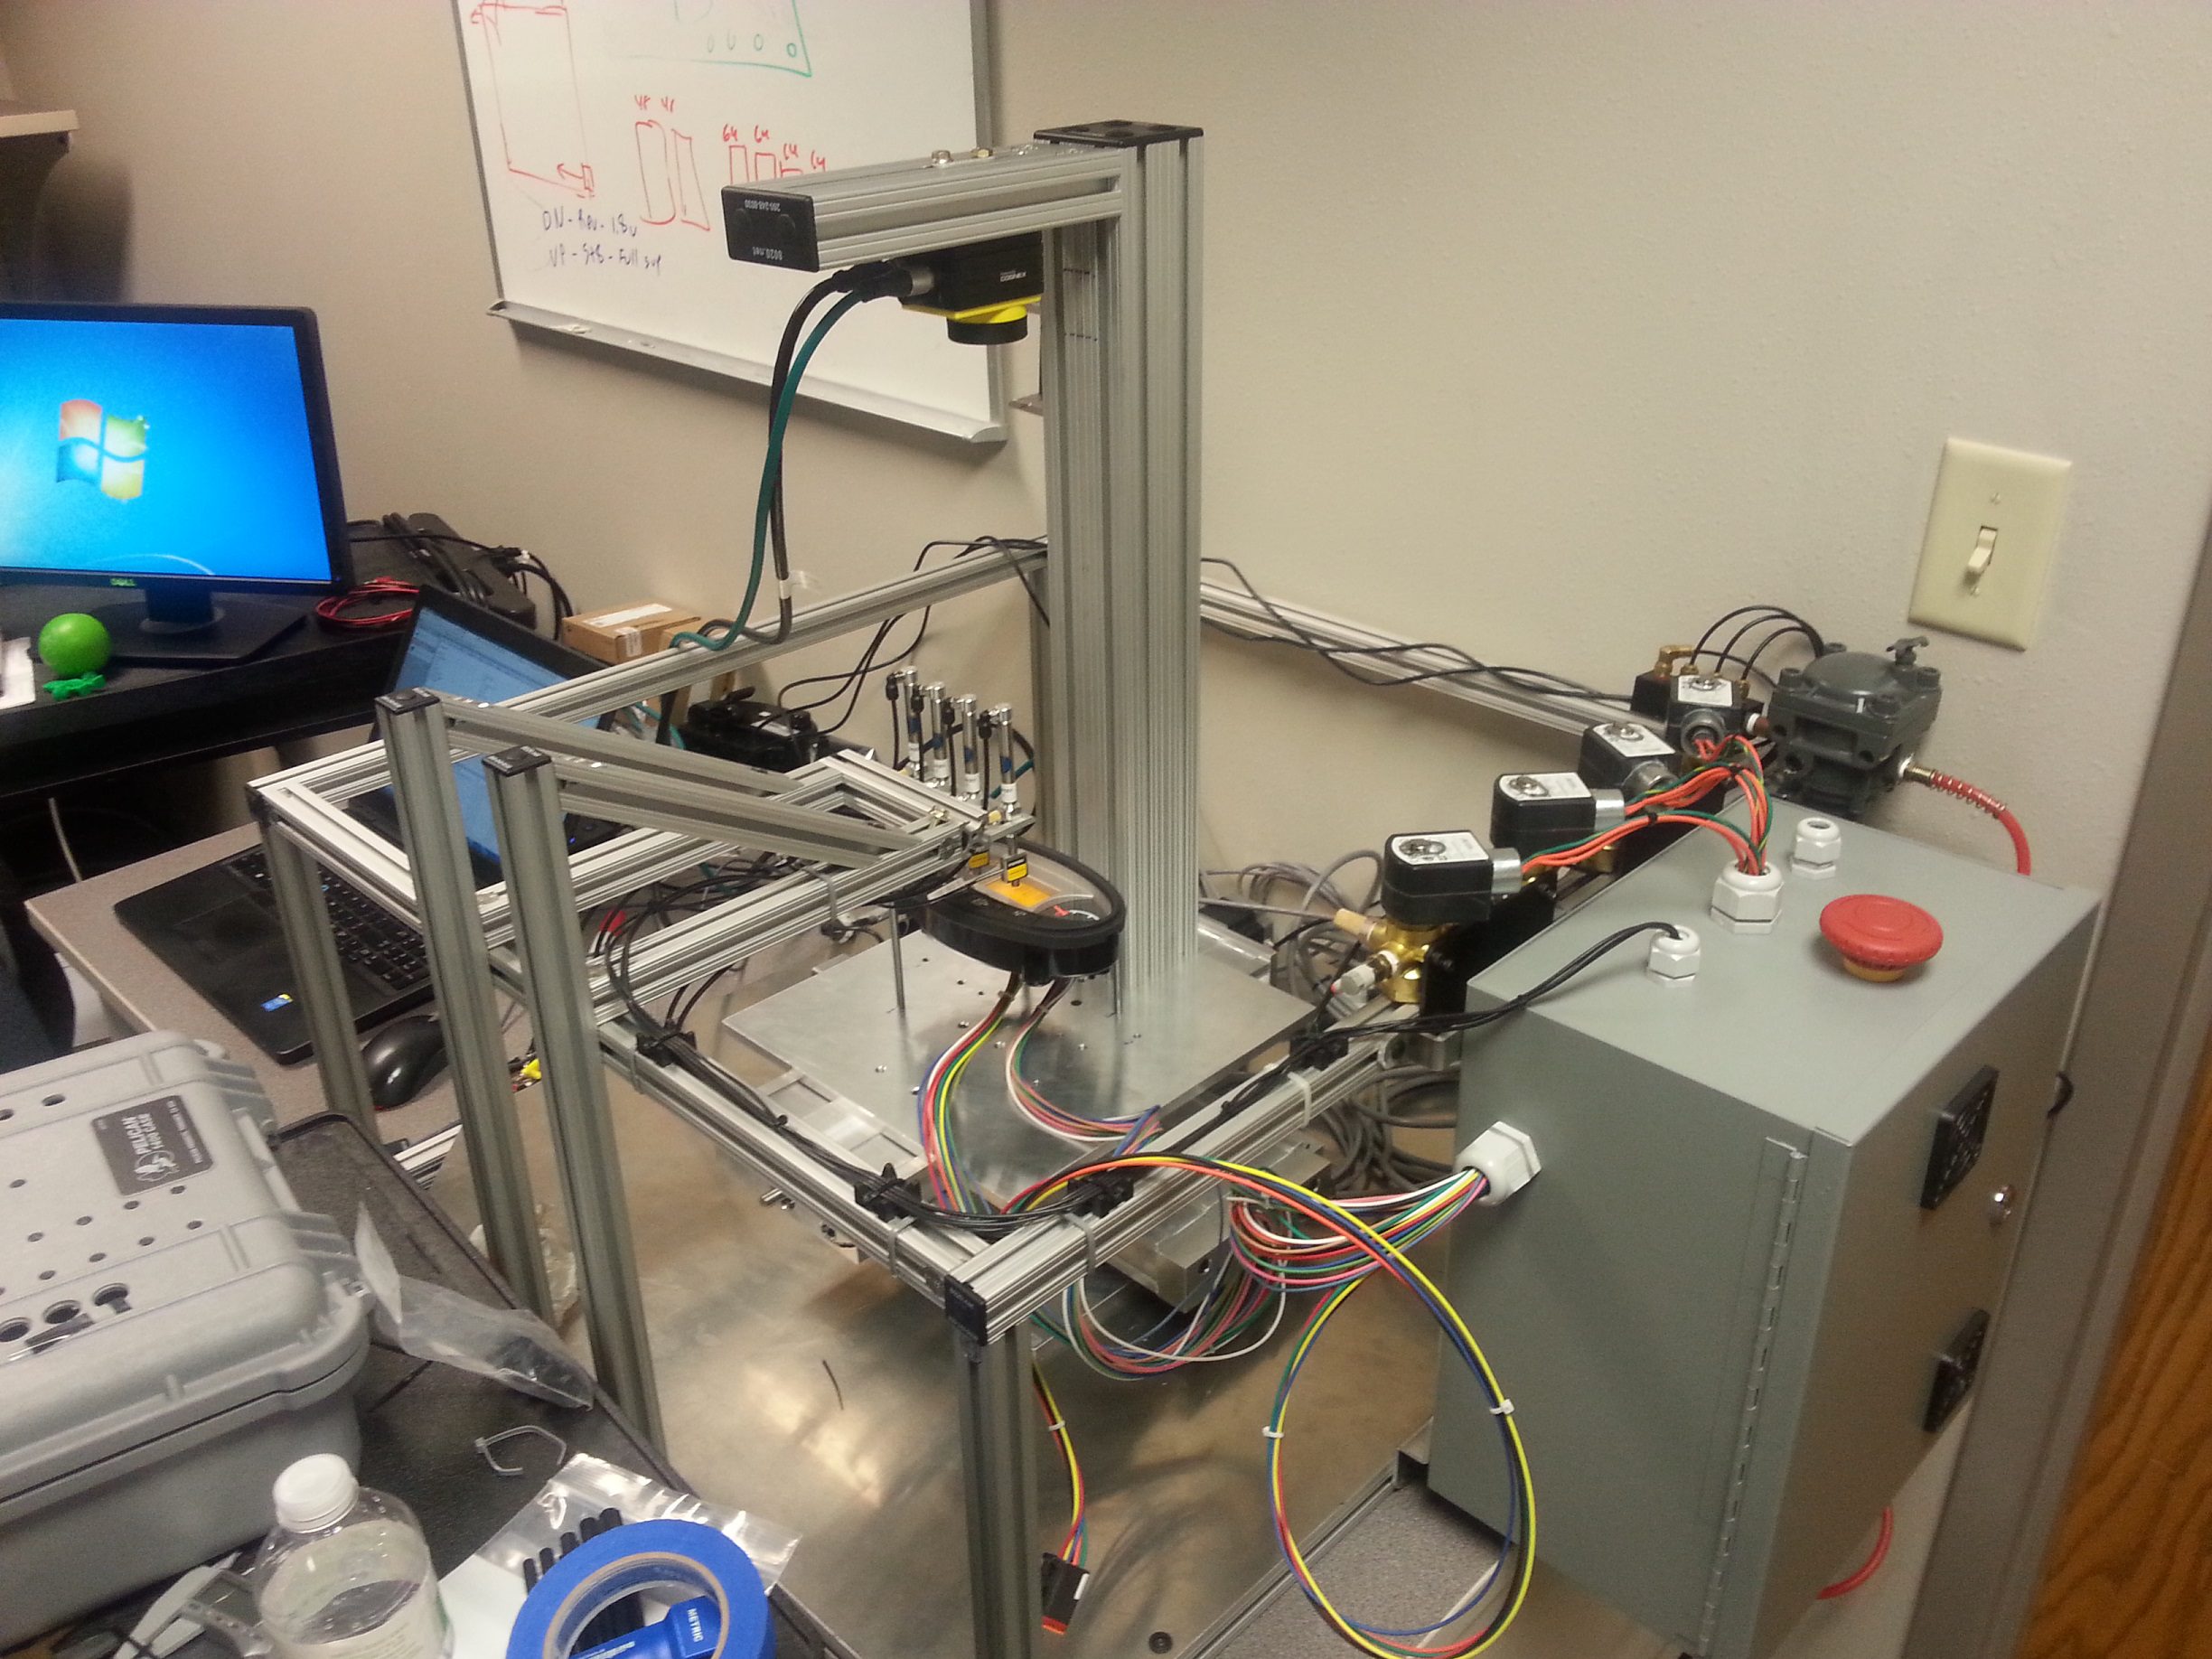
Welcome back to my blog! Today, I will be talking about how to operate a Cognex smart camera via a LabVIEW program. The way I will be communicating with the camera is via TCP/IP. There are other potential ways to communicate with the camera from LabVIEW, but this was determined to be the best way, giving us the most control over the camera. I will walk through some basic terminology that is necessary to discuss building a Cognex vision test. Then, I will create and set up a vision test and finally, I will briefly describe how to program LabVIEW to send/receive information to the camera and to trigger an image acquisition.
There is some basic terminology that will be used within this blog that I will discuss before we get started such as, In-Sight Explorer, job file, event, and buffer. These are all terms used within a Cognex vision test. The vision test itself is written in In-Sight Explorer, a free application provided by Cognex and used to write vision tests for their cameras. The files that In-Sight explorer creates are called job files due to their file extension (.job). Within a job file there are two things we will discuss, events and buffers. An event is essentially a trigger that gets fired whenever a specific event arises; hence the name event. An event can consist of a soft trigger that can be actuated via LabVIEW or some other programming environment, or it could also be an internal trigger, such as when an internal error occurs. Finally, a buffer is a user defined set of memory in the camera that is set aside to hold data specified by the user.
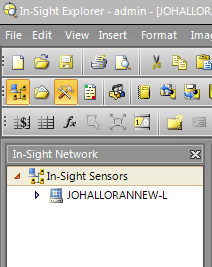
Now that we have all the terminology discussed, we can proceed to creating our vision test. When you first open up In-Sight Explorer, you will need to make sure you are linked to either a camera or an emulated device. There should be a sidebar titled, “In-Sight Network,” on the left side of your screen and this is where both cameras and emulators will be found.
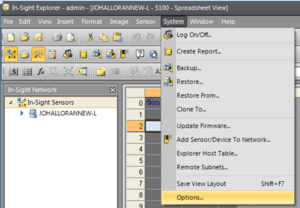
A camera name should appear, as long as it is connected to the host machine via Ethernet. An emulator will appear as the machine name that In-Sight is currently open on if it has been activated properly. If your emulator is not showing up, select System -> Options from the drop down menus at the top of the screen.
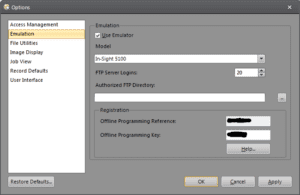
This will open a dialog box, select emulation and make sure that the Use Emulator check box has been checked and a camera model has been chosen.
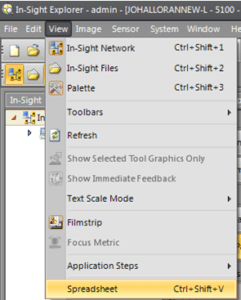
Once the selections have been made, press OK. Now, once you have your device set up, you must select View -> Spreadsheet from the drop down menus at the top of the screen.
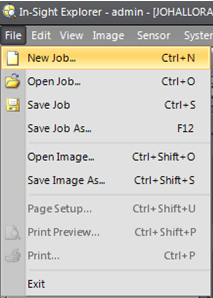
This will bring up a spreadsheet type view for creating vision tests, which is much more powerful than EasyBuilder, which is the default mode. Once here, create a new file by selecting File -> New Job from the drop down menus. This will create a blank job file for us to work from.
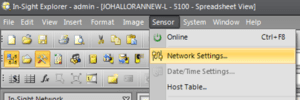
Once we have our blank job file ready, we must set it up for use with TCP/IP. Select Sensor -> Network Settings from the drop down menus.
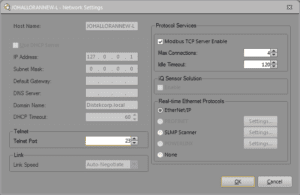
This will open up a dialog where you will set up your network configuration.
I would advise assigning a static IP address to your device, which you can set up here. If using an emulator, the network settings will be set for you and will mirror the machine running In-Sight. Now, make sure to note the port set under the heading telnet. This will be the TCP/IP port we will be utilizing for our communication. I would suggest you ping your camera at this point via the command prompt to ensure you have a proper connection. If you have no connectivity, please review the network setup portion to ensure you have done everything correctly.
Once you have connectivity, we will start setting up LabVIEW to communicate to it. First, you will need to create a TCP connection to the camera using the IP address and telnet port that was setup earlier. As soon as you create the connection, read the buffer and ensure that the welcome message has been sent. If not, you do not have a good connection yet. Once you achieve receiving the welcome message, you will have to go through the steps of logging in, and at that point, you will have control of your camera. When sending commands to the camera, it is essential that every time you send a command it has an end of line constant at the end (ex: For logging in send the string admin\r\n showing ‘\’code display format). This end of line constant can be found in the string palette in LabVIEW. A full list of Native Mode Commands can be found in the In-Sight Help function. In order to send/receive data and trigger an image acquisition, you will need to use the set and get commands listed in the list of Native Mode Commands. The In-Sight Explorer help clearly outlines the syntax for each command and provides examples as well.
I hope you find this information useful and that it helps you get started on learning how to program your own vision tests. DISTek has a lot of experience integrating Cognex cameras to LabVIEW and writing vision tests. If you have a vision problem you need taken care of, please contact us. Have a great day!

